Book Fair Setup
Setting up a Literati Book Fair is fast and easy. Once you’ve cleared the space you need, a pair of volunteers can bring your fair to life in about an hour!
We’ll send you an email with a suggested floor plan three weeks before your fair. Review this suggestion to plan your fair’s layout. Remember to designate a checkout area, preferably near an exit, electrical outlets, and an Ethernet port.
You can also start thinking about where to display the outdoor banner and yard signs that arrives with your fair. We recommend your school’s drop-off/pick-up lane where parents can easily see them. Please don’t write on the banners.
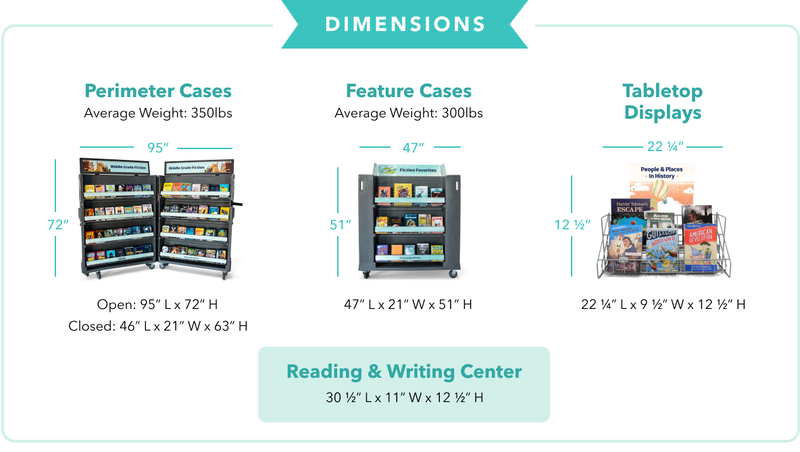
Bookcases
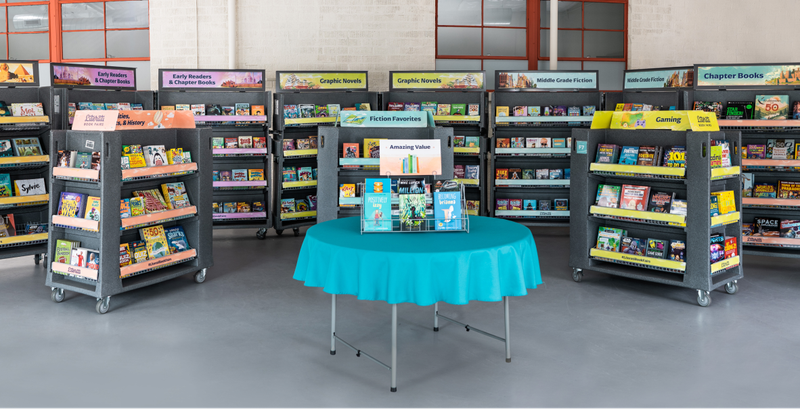
1. Start by opening the perimeter cases, and use them to define the edges of your fair space; your floor plan will suggest using a horseshoe shape. Each case is labeled with a “P” followed by a number. Arrange the cases in ascending order (P1, P2, etc.). Once in place, simply lift the headers. To ensure your cases remain secure, leave them open at a slight angle rather than all the way.
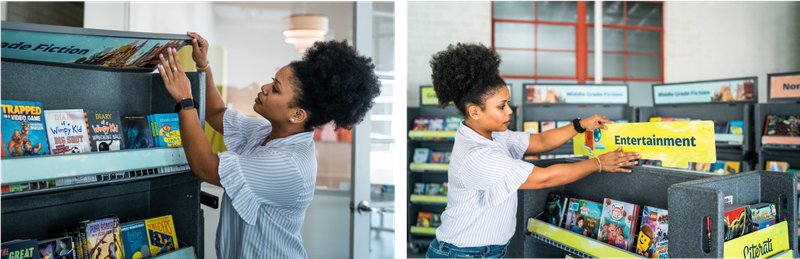
2. Next, unzip the black covers on your feature cases, set aside the boxes stacked on top, and remove the plastic case lids. Look for signage on the top shelf and set it in place by inserting the tabs into the slots provided. Arrange the cases in the middle of your fair space.
3. Store the black covers and case lids behind the perimeter cases until it’s time to pack up your fair.
4. Journals and activity books will arrive in their own feature case.
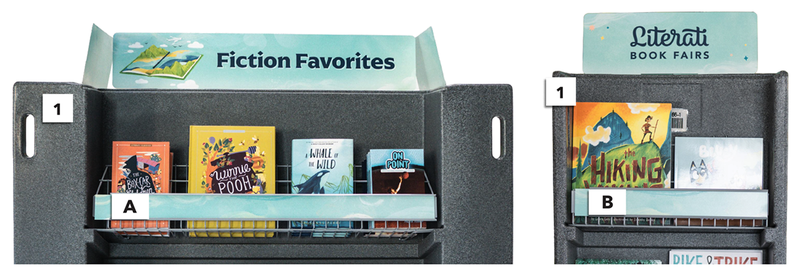
Case Header & Shelf Labels
In Printable Materials, we’ve provided labels you can attach to case headers and shelf strips so kids can easily find specific titles by number and letter.
For perimeter cases, simply wedge the number labels into the case headers and slide the letter labels into the shelf strip holders.
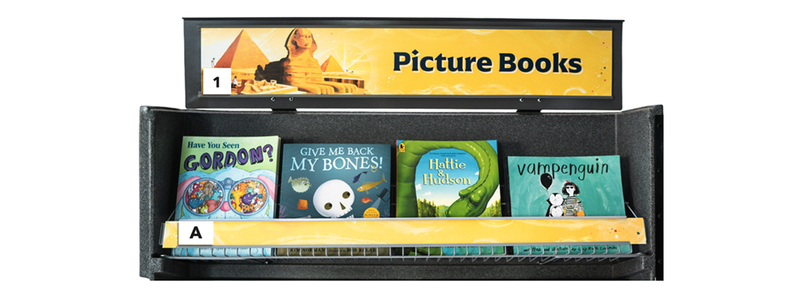
For feature cases, please tape number labels on the gray exterior near the headers (not on them) and slide letter labels into the shelf strip holders.
Please don’t tape labels on any headers or shelf strips! This could damage them. Please remove all labels before returning your fair.
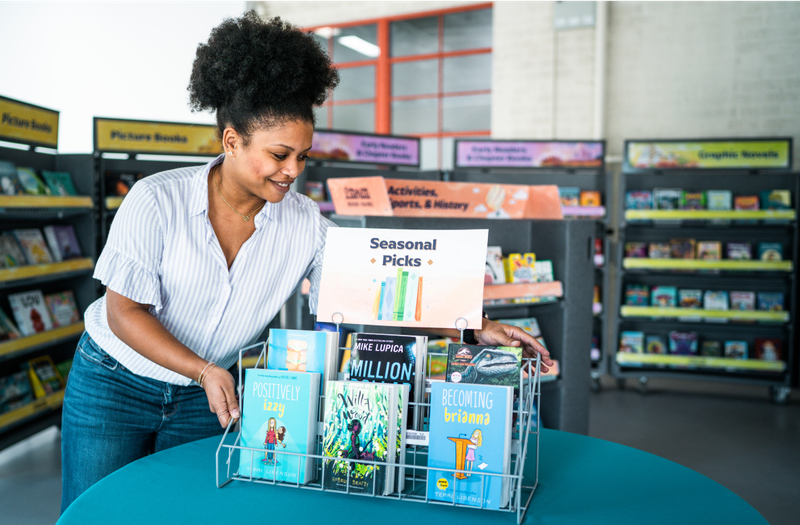
Tabletop Items
The boxes that arrive on top of your feature cases contain your pre-stocked tabletop displays and cash register (more on registers below). We’ve provided tablecloths, but your school must provide its own tables.
- Once your tables are set up, set the wireframe tabletop displays on top and insert the headers into place. Use one table for spring sale books, which arrive without wireframe displays. Keep empty and overstock boxes under the tables, near their marked bookcases or displays.
- Locate your Setup Kit. This includes your bookmarks, acrylic bookmark stand and insert, and mini-posters. We recommend placing all these items at or near your checkout area.
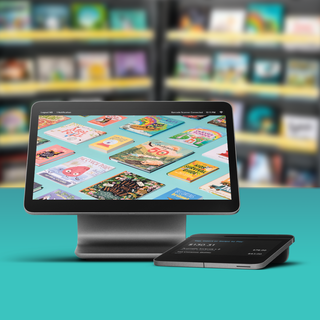
Cash Register
1. Select a space for your cash register, ideally near an exit with access to electrical outlets and an Ethernet port.
2. After preparing a table, open your cash register box (found on top of one of your feature cases) and set up the register early to ensure strong connectivity before your fair begins. We recommend doing this step on your delivery day to allow Square updates to run before your shoppers arrive.
3. Please be sure to only use the equipment that’s packaged with each register. The necessary cords have already been connected to their corresponding devices, so please try not to unplug anything during setup. The necessary cords have already been connected to their corresponding devices, so please try not to unplug anything during setup.
4. Learn more about cash register setup and connectivity in our cash register guide, and keep a hard copy nearby for easy reference.

Checkout Area
1. Drawstring bag display: For just 89 cents, shoppers can buy a drawstring bag to carry home their purchases. With just a few extra supplies of your own, you can create a simple, stylish setup:
- Attach bags to a clothesline and spread it behind your checkout area (as pictured below) or across a nearby display table.
- Use hangers to place bags on a rolling clothes rack or a similar fixture.
- Convert a freestanding coat rack into a “tote tree.”


2. Reading & Writing Center: These displays include items like pencils, erasers, and notepads that make for fun, low-cost add-ons at checkout (where you can keep a close eye on this “pocketable” merchandise).
3. Bookmark display: Use the bookmarks and acrylic stand that arrive with your Setup Kit to create a free bookmark display.
4. Gift card codes: Print out your school’s list of gift card barcodes from OpenBook and keep it handy for easier in-person checkout.
5. Posters box: Display one of each poster for students to easily see while shopping at your fair. Keep the remaining posters in the box nearby for you to distribute at checkout.